How to Create Eye-Catching TPT Product Photos with Mockups (in 4 Simple Steps)
Most TPT sellers do not have a product problem. They have a presentation problem.
A strong resource with weak product photos gets skipped constantly on TPT. Buyers scroll fast. If your thumbnails look cluttered, inconsistent, dark, or outdated, people never click long enough to realize your resource is actually good.
That’s why mockups matter.
Mockups let you create polished, professional product photos without printing every page, staging elaborate desk setups, or spending hours taking pictures. They also help your store look cohesive, which quietly builds trust with buyers over time.
Here’s the exact process I use to turn plain screenshots into polished TPT product photos.
Step 1: Choose a Mockup Set That Fits the Resource
Before you even open Canva, think about the type of resource you’re selling.
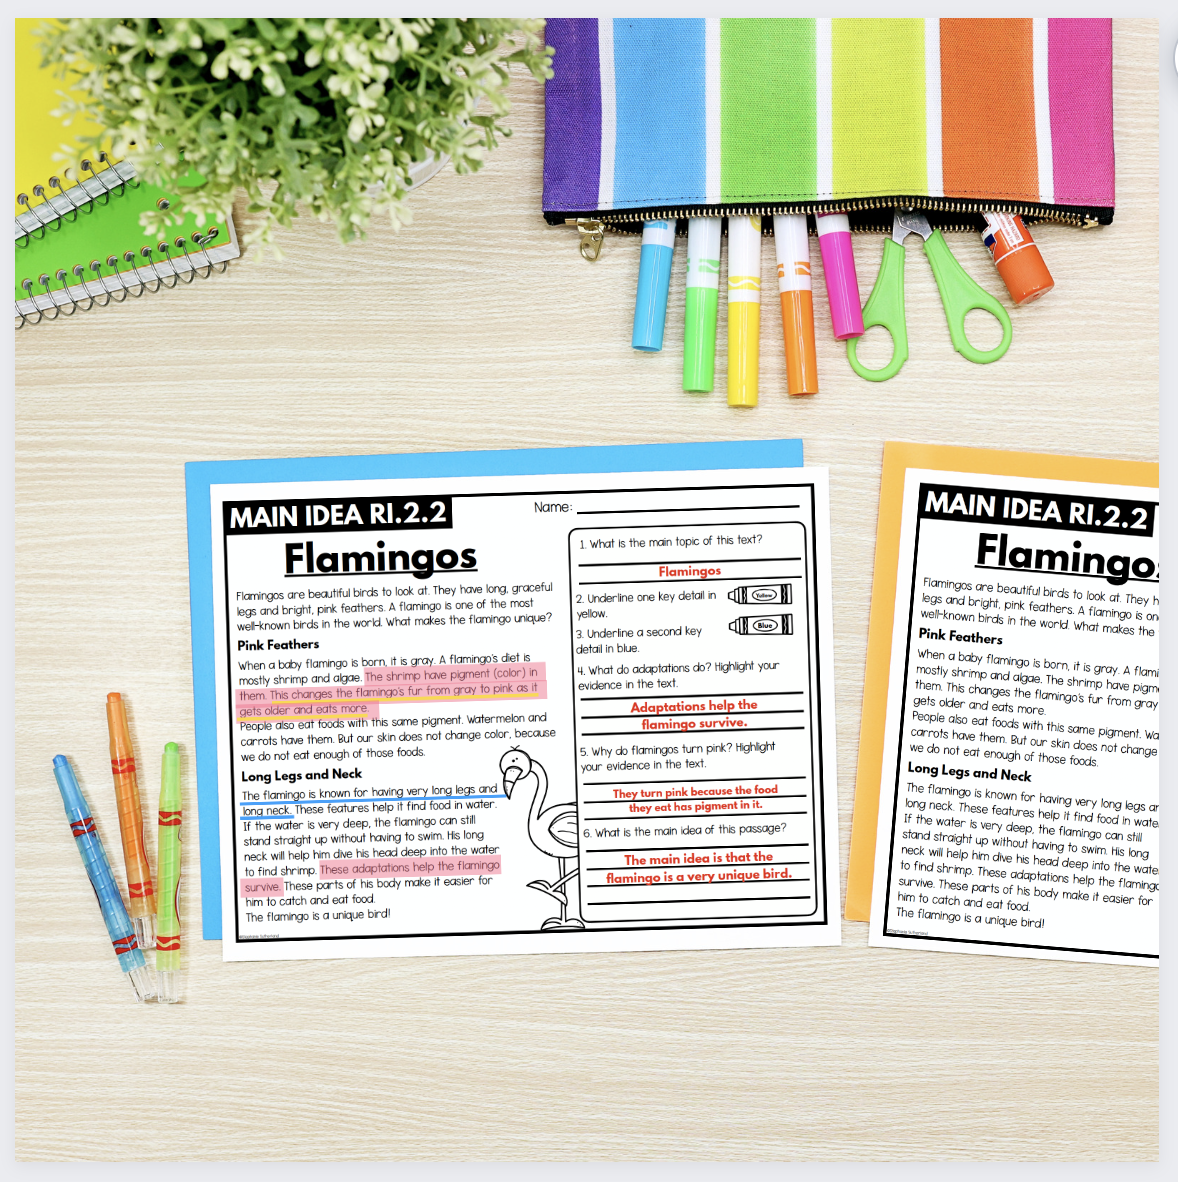
I’m using a main idea reading resource for this example, so I know I need mockups with horizontal paper layouts. If I chose a bundle of vertical clipboard images instead, I’d spend half my time fighting the layout.
The mockup should support the product, not compete with it.
A few general guidelines:
Binder mockups work especially well for curriculum units, workbooks, and larger bundles.
Clipboards and tablet mockups are great for individual worksheets or digital activities.
White-background mockups usually perform better for clean thumbnails because they stay readable at small sizes.
Lifestyle mockups work well deeper in the product preview where you want more personality and branding.
Also, pay attention to consistency. If every product in your store uses wildly different colors, lighting, and styles, your storefront starts to feel disconnected. A coordinated mockup style makes your store feel more established, even before a buyer reads a word.
And keep the mockup itself simple. If buyers notice the coffee mug, plant, or rainbow pens before they notice your resource, the mockup is doing too much.

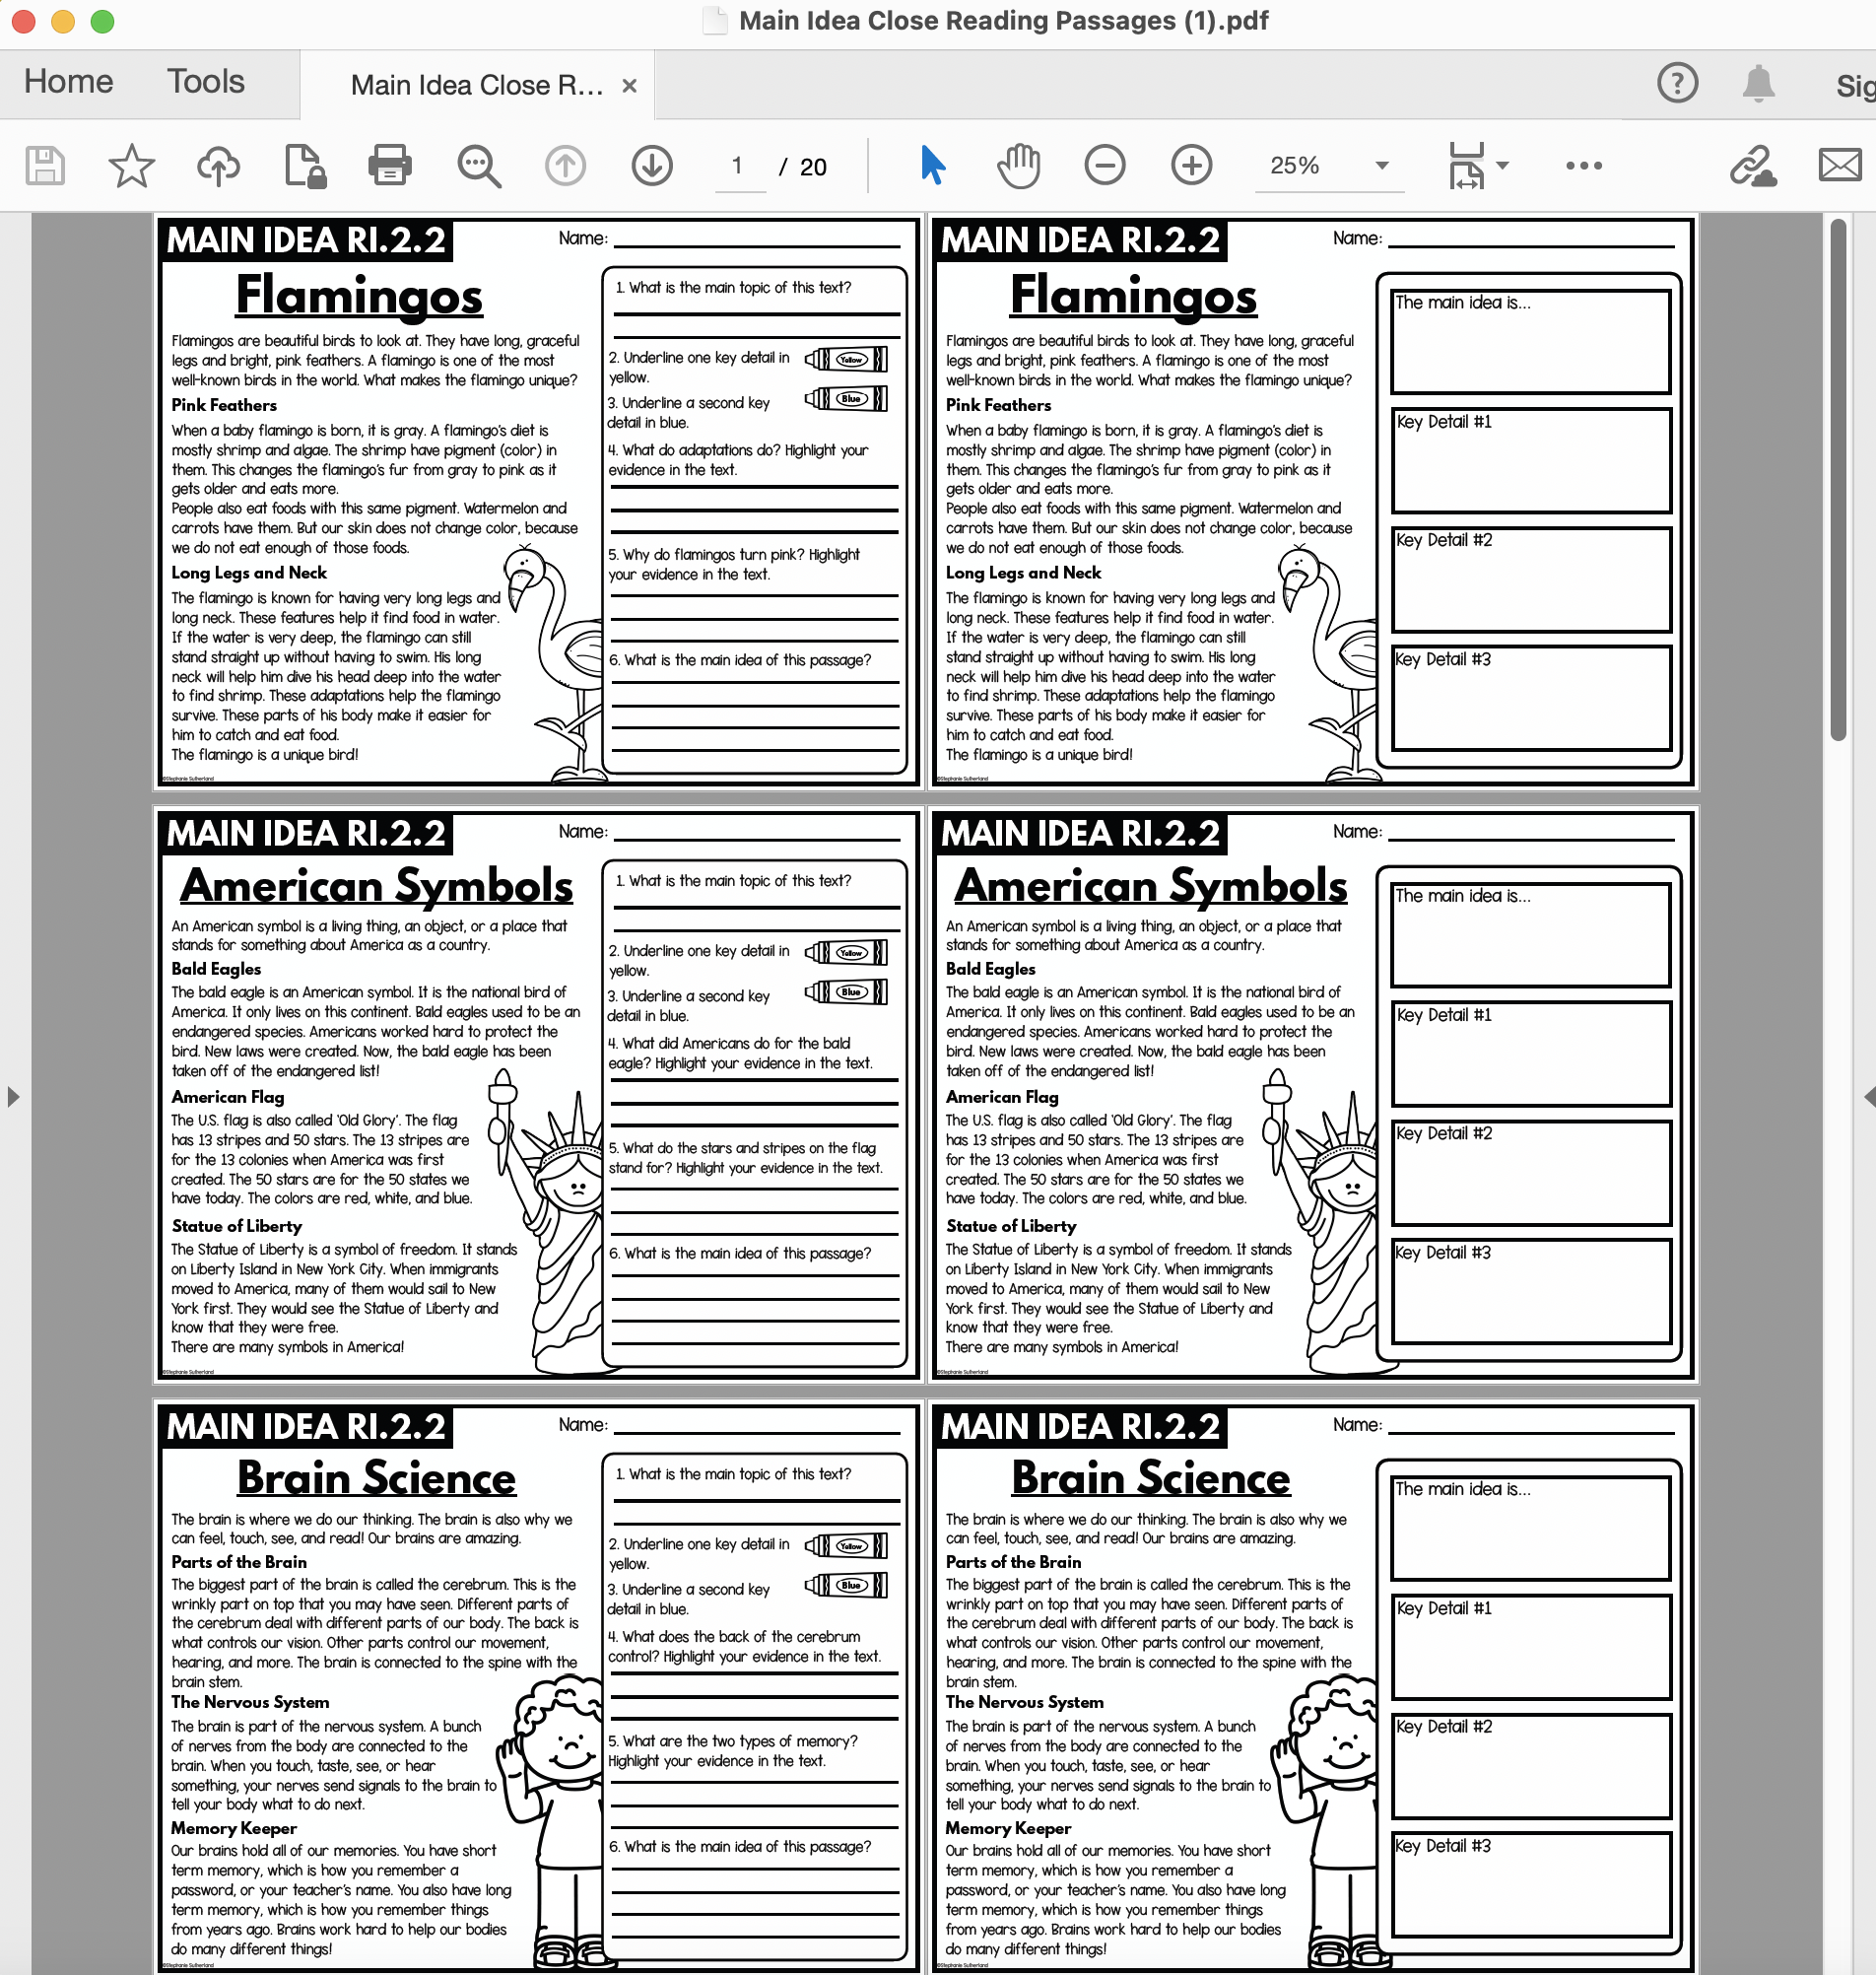
Step 2: Take Clear Screenshots of the Best Pages
Your screenshots should answer the buyer’s biggest question:
“What exactly am I getting?”
Do not try to show every page in the resource. That usually creates clutter.
Instead, focus on the pages that help sell the product:
Different activity types
Passage variety
Digital components
Answer keys
Organizers or templates
Anything unique compared to similar resources
For my reading resource, I’d highlight:
Multiple passage options
Both printable and digital formats
Included answer keys
The goal is clarity, not completeness.
Step 3: Add the Screenshots to Your Mockups
Now layer your screenshots onto the mockup images.
You can do this in:
Canva
PowerPoint
Photoshop
Each tool works a little differently.
Canva is the easiest starting point for most TPT sellers. Drag the screenshot in, resize it, and you’re done. It’s fast, simple, and more than enough for clean product photos.
PowerPoint works surprisingly well too, especially if you already design resources there. It gives you more control than people expect and is often faster than learning new software.
Photoshop makes sense if you want advanced editing, shadows, lighting adjustments, or highly customized compositions. But honestly, most sellers do not need Photoshop-level complexity to create strong thumbnails.
One mistake I see often is overediting. Giant shadows, dramatic angles, heavy filters, and layered elements usually make the resource harder to see. Clean almost always performs better on TPT.
Personally, I prefer letting the screenshot blend naturally into the white paper on the mockup rather than adding heavy effects.


Step 4: Download and Use the Mockups Everywhere
Once your images are finished, download them as high-resolution PNGs. PNG files usually stay sharper than JPGs, especially when text is involved.
Now you can reuse those same mockups across your entire marketing system:
TPT thumbnails
Product previews
Pinterest pins
Blog graphics
Email marketing
Instagram posts
Facebook posts
This is where mockups become really valuable.
You are not just creating one product image. You are building reusable brand assets.
One clean mockup can become:
A square Instagram post
A vertical Pinterest graphic
A cropped TPT thumbnail
A blog image
An email banner
That consistency matters more than most sellers realize. Over time, buyers start recognizing your style before they even read your store name.

Want to Try It Yourself?
If you want to experiment before buying a full collection, grab my free mockup sampler pack.
You can also browse some of my most popular collections:
Brights Student Desk Mockups
Pastel Computer Mockups
Purple Binder Mockups


Using mockups is one of the fastest ways to make a TPT store look more polished and established without creating new products from scratch.
And if you want to see everything available, you can browse my full collection here: My TPT Store
If you use one of my mockups, send me a message or tag me on Instagram. I genuinely love seeing how different sellers use the same sets in completely different ways.
💛 Katie